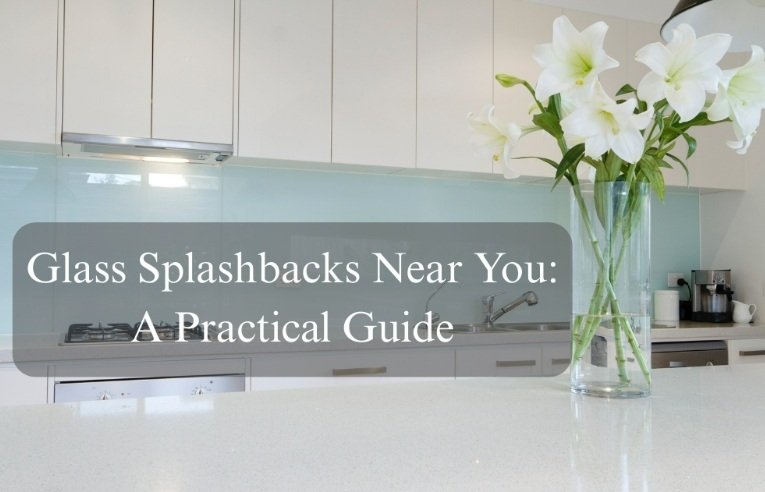
Kitchens have a way of exposing bad decisions. Grease finds seams, steam fogs up cheap panels, and bright morning light reveals every grout line. That’s why the splashback you choose matters more than it looks on a mood board. Think about how you actually cook—simmering sauces, quick pan sears, weekend baking—and how close heat and steam sit to your walls. Consider reflections too; the right surface can lift a small room and bounce daylight deeper onto benches. If you’re weighing nearby options, start with durability and safety, then layer in style. For many homes, the sensible sweet spot ends up being mirrored kitchen splashbacks —chosen and installed correctly, they amplify light without asking much in return.
There’s a practical reason glass keeps turning up in hardworking kitchens: it handles mess, moisture, and light better than porous surfaces.
I learned this the first week after a reno in a small apartment kitchen. Evening sun hit the back wall just right, and a mirrored section pushed that glow across the benchtop—no extra downlight needed for chopping herbs.
A tape measure and a short checklist prevent most headaches. Two photos and a few numbers also make quotes more accurate.
Take five minutes to watch how steam drifts from the rangehood and where your pots sit on the back burners. That small observation shows where the surface cops the most abuse—and where you’ll appreciate easy-wipe glass the most.
Kitchens are rough on materials. Choosing the correct glass (and installing it properly) isn’t just neat—it’s a safety decision.
If you want a plain-English refresher while planning a renovation, guidance on kitchen renovations and additions helps you think through material choice, ventilation, and how surfaces behave near heat and moisture. It sets expectations early so you’re not renegotiating with your installer at the eleventh hour.
Three quotes aren’t useful if each one describes a different job. Make providers price the same scope so the value stands out.
I’ve had the best results attaching a quick sketch with measurements and photos. Quotes suddenly lined up, and the only differences left were experience and finish.
For extra context on light, proportion, and flow, looking for design tips to revitalise your home can help align splashback finishes with your layout, lighting, and storage.
One south-facing kitchen I worked on came alive with a grey mirror along the prep bench. It doubled perceived width and didn’t glare under task lighting, the way a full mirror would.
The easiest routine is also the cheapest. Skip harsh abrasives; they scratch and dull.
In my own kitchen, a soft cloth lives in the top drawer. A 30-second wipe after the last pan keeps the surface looking new without thinking about it.
Glass splashbacks earn their keep when they disappear into daily life—quick to wipe, calm to look at, and tough where heat and steam live. Start with measurements and safety, then choose a finish that solves a real problem in your room: brighter mornings, fewer lines to scrub, or a sense of depth in tight corners. Get like-for-like quotes, insist on a dry fit, and keep maintenance gentle. Do those basics well and your splashback becomes part of a kitchen that works hard without demanding attention—long after the novelty of a new colour has faded.
Unlock a Brighter Future: Why Solar Power is a Smart Investment
September 29, 2025Unlocking the Best Real Estate Investment Opportunities
September 26, 20257 Aircon Cleaning Tips Every Homeowner Should Know
September 22, 2025Finding Reliable Tenants with Top Property Management in Brisbane
September 9, 2025The Importance of Regular Electrical Safety Inspections
September 9, 2025